TimePilot Vetro
Setup
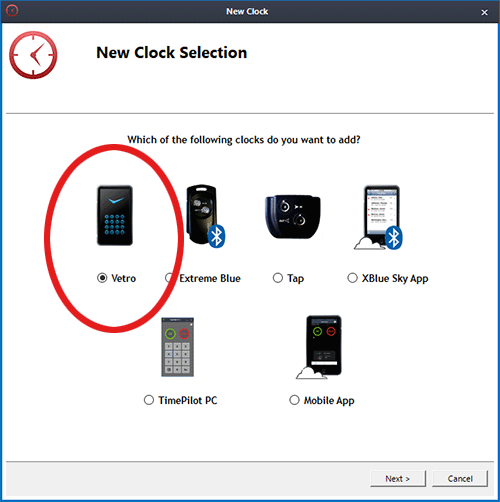
To set up or add a new Vetro clock to your TimePilot software, click on the "Clock Manager" tab and click "Add New Clock." Select the Vetro clock and click Next.
With the help of the "Add New Clock Assistant," you'll do the following:
- Decide how you'll get the setup information you'll be creating here into each clock. You can do it with the included USB drive or via your network, if the clock will be a part of your local area network. If it will be on your network, you can still use the USB drive to transfer the information.
- Give the Vetro time clock a name. This name will appear in each transaction in TimePilot Central—helpful if you're using more than one Vetro clock in your business.
- Set the six-digit numeric password for the clock. The factory-set password is 123456, and you'll use that to set the time and date on your clock when you first power it up, but you'll change the password here to a six-digit number unique to your business.
- Transfer the clock's name and new password, as well as the names and the ID numbers of each employee, to the Vetro clock, either with the TimePilot USB drive or via your network.
- Assign iButtons to employees. iButton assignments can be made at the clock or at the PC with the optional iButton Reader (purchased separately).
The New Clock Assistant will guide you through the setup process, step by step.
TimePilot Tips
- The name you give your clock is important, because if you ever have multiple Vetro clocks on the same system, you'll know where employees clocked in and out. The Vetro clock ships with a factory-set password of 123456. You'll use that password to set the time on the clock when you power it up for the first time, but afterward you'll use the password you set here. Make sure you don't choose 123456 as your new password: if you do so, your employees will be able to change the clock's settings.
- Some advanced users who want to add a Vetro clock to their network may want to assign their clock a fixed IP address. If so, when you get to the "Network Setup" screen, click the "Use the following IP address" button, enter the requested information and click "Next." You'll be taken to the instructions for transferring your setup information to the USB drive and on to the clock.
Once the clocks are set up, they're ready for use.