

Now that your app is set up, here's how to use it.
Note: These instructions are for users of the TimePilot Extreme Blue Enhanced time clock system. If you have the Extreme Blue system (without PC software), you'll find your instructions here.
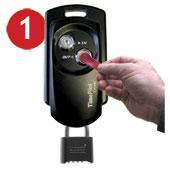
Employees clock in and out with just a tap of an iButton.
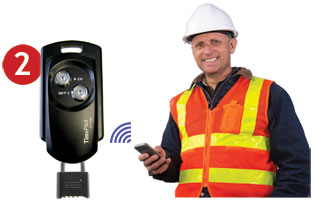
When it's time for payroll, use your smartphone to collect the data via Bluetooth.
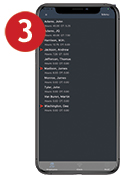
Our smartphone app calculates employee hours right on your phone. Need to correct anything? Did an employee forget to clock out or clock in? Make your corrections right on site, on the phone.
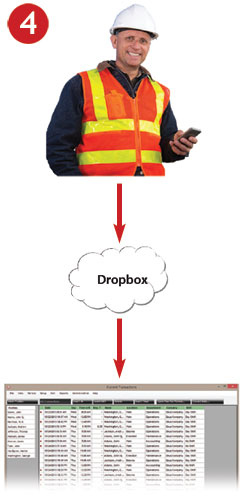
Tap your phone’s screen and send the employee work hours to Dropbox, then retrieve them with the TimePilot software at your main office.
The Main View is what you'll see when you start the app after setting it up. Here's an overview, keyed to the image below:
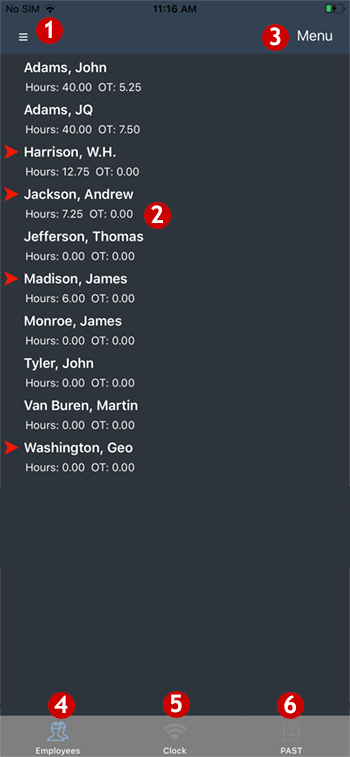
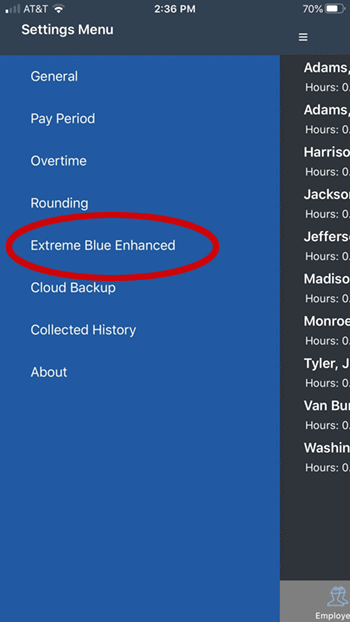
 This is the Settings Menu. Here you can see the app's General Settings (the phone's name and number. If you need to make changes to your Overtime, Pay Period or Rounding policies, make them in the TimePilot Central software, not here.
 These are the employees you have set up. If there's a red arrow next to the person's name, that person was clocked in when you last collected your data from the Extreme Blue clock; if there's no arrow, that person was clocked out. Under each name are the regular and overtime hours worked by the employee, as of the last time you collected data from the clock.
If you see the hours listed as "-.--," that indicates that the app has detected an error, also known as an "exception." Usually, they occur when an employee has forgotten to clock in or out, and thus has two straight clock-outs or ins. When that occurs, the app cannot calculate an accurate number of hours, and displaying "-.--" is a way of alerting the supervisor. To solve the problem, see "Adding and deleting transactions."
Want to see an individual employee's transactions? Just double-tap the employee's name.
 The contents of this menu varies, depending upon what you're doing.
If you're in the Main View, looking at the list of employees, tapping "Menu" will give you a variety of options pertaining to employees.
Want to add a clock-in or clock-out? Tap the employee's name to select it, then tap "Menu." Choose your action from the list that appears. Tap the "Return" button at the bottom of the screen to go back to the Main Screen.
You can also send all of your employees' work hours to TimePilot Central (Tap "Menu," then "Send to Cloud.").
Important note: Do not use the first three items: Add Employee, Edit Employee or Delete Employee. To keep the list of employees synchronized with the list in the TimePilot Central software on your PC, make all these changes in the PC software and then send the profiles to your phone. That process is described in the Quick Start Guide.
If you tap the "Clock" icon and then "Menu," you can download new transactions from the Extreme Blue clock, set the date and time on the clock and set the clock's name (which will be visible in TimePilot Central when transactions are collected).
 Employees icon: Returns you to the Main screen.
 Clock icon: Collects transactions from the Extreme Blue clock. For more on this topic, see "Collecting transactions from the clock."
 Past icon: Ignore this icon. This feature—which "extracts" a pay period's transactions into a separate file—is controlled in the TimePilot Central software; not here.
To clock in or clock out an employee in real time: Tap the employee's name to select it, tap "Menu" and choose clock-in or clock-out. This will create a clock-in or clock-out at the time you performed the action. You can also clock in or out multiple people at the same time with this method: Tap each employee's name to select them, tap "Menu," then choose "Clock In" or "Clock Out." This will create a transaction for each employee at the time you perform the action.
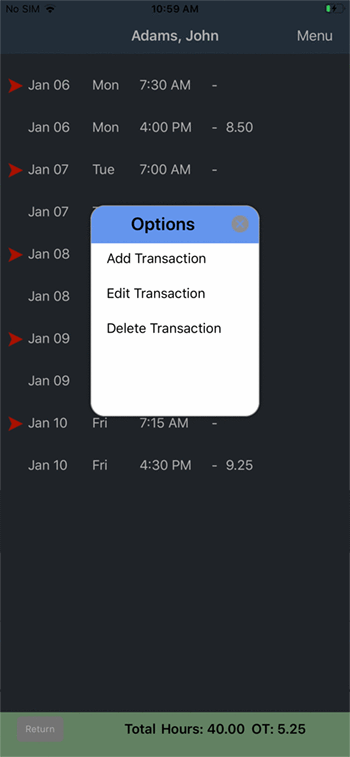
To insert a clock in or clock out an individual employee at a time you choose: Double-tap the employee's name to see his or her transactions, then tap "Menu." Tap "Add Transaction" from the choices that appear. Specify whether it's an In or an Out, enter the date and time and tap "Save." Tap the "Return" button at the bottom of the screen to go back to the Main Screen.
To edit a transaction: Double-tap the employee's name in the Main View to see his or her transactions. Tap the transaction you want to change to highlight it, then tap "Menu." Choose "Edit Transaction," enter your changes and click "Save." Tap the "Return" button at the bottom of the screen to go back to the Main Screen.
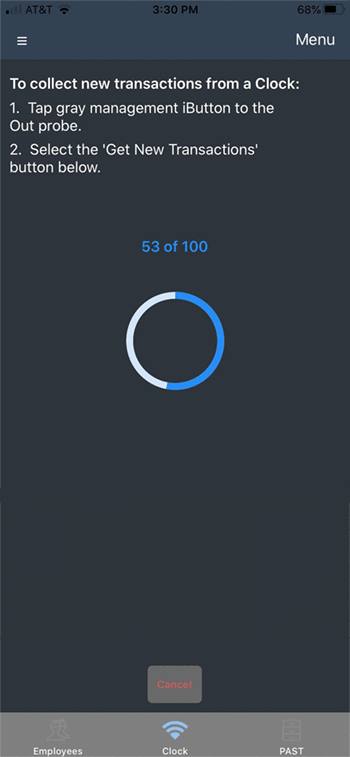
You can download your employees' clock-in and clock-out transactions from the clock into your phone at any time. In addition, the act of collecting the transactions will also reset the date and time on the Extreme Blue clock to match the date and time on your phone. Once in the phone, the app does all the math to give you exactly the number of hours for each employee. Here's how to collect the transactions:
Two methods, both of which reset the clock chip inside Extreme Blue to the time on your phone:
If you have more than one Extreme Blue clock, it can be helpful to give each clock a name so you can see in TimePilot Central exactly which clock an employee used. To do so, start the app, tap the “Clock” icon, then “Menu” and choose “Set Clock Name.”
You can send the data downloaded to your phone to headquarters at any time. But first you should look at the data and make any corrections or changes that are necessary. If, for instance, an employee forgot to clock out or clock in, you'll see a series of dashes (--:--) under that person's name. That's an indicator that the app can't calculate the work hours because there's no start or end to the employee's shift. Perhaps the employee clocked in when they should have clocked out, or simply forgot to clock in or out at all. The app allows you to add, delete or edit transactions for any employee. For more, see "Adding, deleting and editing transactions."
Here's how to send the data to headquarters:
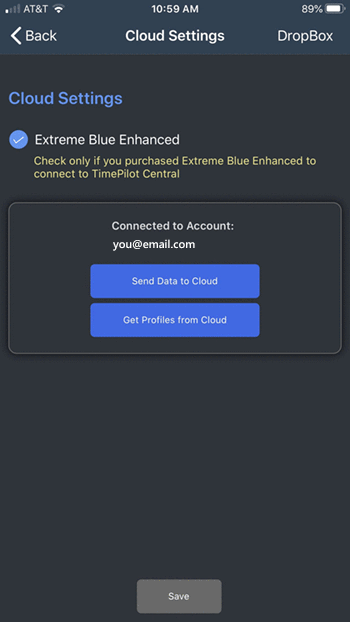
Note: If your phone indicates that you're not connected to a Dropbox account, tap "Dropbox" in the top right corner of the screen and log into your Dropbox account.
We included a USB drive in your Extreme Blue Starter Kit so that if you don't want to use a phone to collect your data, you can download the data from your clock to the drive. Here's how: