
(Read the newsletter containing this article.)
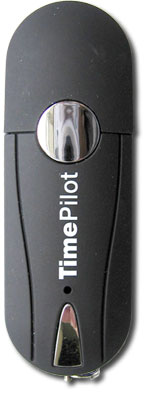
 If you use TimePilot Extreme or TimePilot Vetro, you’re probably pretty familiar with USB drives. These are the small devices stuffed with memory chips that plug into a USB port on your
computer.
They’re also known as Thumb Drives, USB Sticks, Flash Drives, Memory Sticks, USB Keys, Jump Drives, Data Sticks or even IBM’s original name: Disk on Key. (That name never caught on—fortunately.)
 While
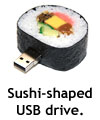
their usual shape is rectangular, they actually come in many different forms. You can get a USB drive bracelet, a USB drive pen or drives shaped like a guitar, a Swiss Army Knife and all kinds of food, from hamburgers to sushi.
No matter what the shape, they all have the same functioning parts: a USB connector and memory chips. The capacity of the drives runs up to 128 gigabytes, which was the size of a hard drive just a few years ago. A 128-gigabyte USB drive about the size of your little finger can hold roughly 15 hours of high-definition video or 243 hours of CD-quality audio.
You don’t need anything close to that for a TimePilot system. In fact, pretty much the smallest USB drive you can find should work just perfectly with your Extreme or Vetro. The systems ship with a 32-megabyte drive for two reasons: anything larger is overkill; and a smaller drive will run faster in the TimePilot software.
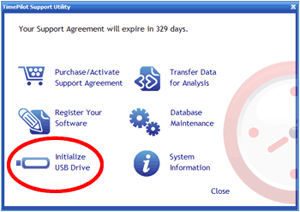
If you lose your TimePilot USB drive, you can order another from us here or you can use your own drive—with a little preparation.
To use your own, you’ll need to load a file onto the drive that identifies it to the TimePilot software as a TimePilot-enabled USB drive. There are several ways to do this. Here’s the simplest:
