TimePilot PC
 Setting Up TimePilot PC
Users
of TimePilot PC have a few extra steps to perform to get their system up and
running.
First, like any TimePilot user, they'll install
TimePilot Central on the PC
that a supervisor will use to work with the time and attendance data collected
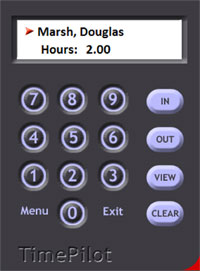
by the system. Then they'll install the "virtual timeclock" (shown at right) on
the PC(s) that employees use to clock in and clock out.
The TimePilot PC software comes with five installation licenses, which means
you can install "virtual timeclocks" on up to five PCs. (Need more licenses? You
can order them at the
TimePilot web site.)
If the supervisor's computer will also be used to clock in and out, you'll
perform both installations on that PC.
Here's how to do it:
- Install TimePilot Central on the supervisor's PC, as described
here.
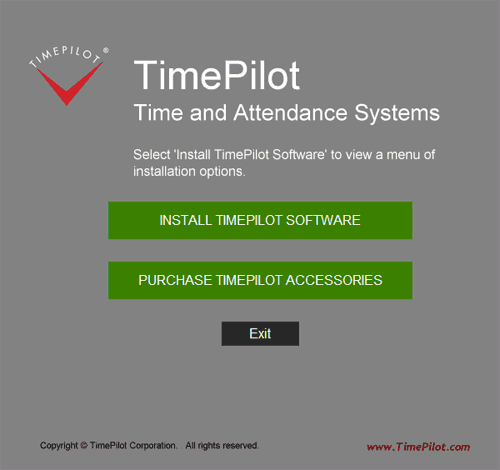
- Place the CD in the CD drive of the first PC that will run the "virtual
timeclock." Click "Install TimePilot software."

- On the next screen, click "TimePilot Installation Wizard."
- Click "No" when the software asks if you'll manage TimePilot Data from
this computer.
- Click "No" on each screen until you're asked if you want to
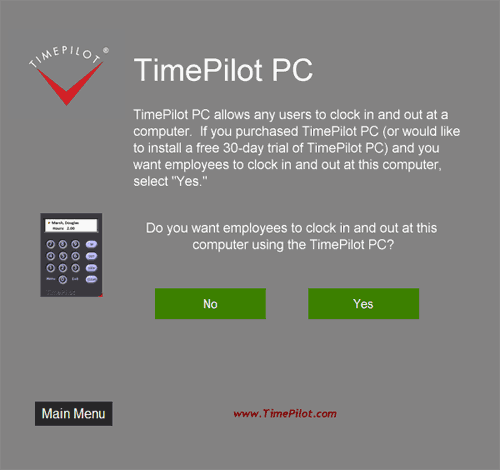
install TimePilot PC.
- When the "TimePilot PC" screen appears (shown below), click "Yes."

- The installation wizard will start up. Follow its instructions to
install the clock on the PC.
-
 After
the software is installed, youíll see a TimePilot PC icon on the computerís
desktop (shown at right). Double-click the icon to start the program.
- The software will ask you to select the drive where the time and
attendance data collected by this PC will be stored. This should be the same
location that you chose for the data when you set up TimePilot Central on
the supervisor's computer. Don't remember the location? Start TimePilot
Central, and on the opening screen, below the fields for your username and
password, the data location is listed.
- Next, you'll be asked to register your program. The "TimePilot
PC License Number" is on a sticker attached to the printed warranty
information that came with your product. If you're just trying out TimePilot PC, click the "Evaluation" button to get
a 30-day tryout.
- Repeat steps 2-10 for each PC on which you'll install the "virtual
clock."
You can see which computers have the virtual clock installed, as well as
delete the license from a particular computer, by going to the
Administrative
menu in TimePilot Central.
 Setting Up TimePilot PC
 Setting Up TimePilot PC
