![]() 1. Click the TimePilot Tap icon
(shown at right) on your desktop. The Tap Manager will appear on your
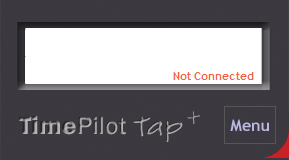
screen. (See screenshot above.) Note that the words "Not Connected" appear in the
white box. That will change in the next step!
1. Click the TimePilot Tap icon
(shown at right) on your desktop. The Tap Manager will appear on your
screen. (See screenshot above.) Note that the words "Not Connected" appear in the
white box. That will change in the next step!
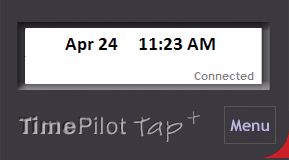
2. Connect the USB cable that came with your Tap to the port on the Tap clock and plug the other end into a USB port on your computer. In a few seconds, the Red "Not Connected" will change to a green "Connected" and the date and time will appear. (See screenshot above.) At the same time, the clock-in and clock-out data is automatically transferred from the clock to the database, the time on the clock is updated to match the time on your PC and the battery in the clock is recharged.